Thursday, May 21, 2015

Seed Tape - Part 2

Seed Tape - Part 2

In a previous post, titled "What To Do When It's 40 Below Outside?", I wrote about making your own seed tape using toilet paper and cornstarch glue.

In the following months, I have refined my process for making seed tape, and have found it to be an awesome time saver when planting in the garden.

I have made seed tape for parsnips, carrots, spinach, broccoli, and cauliflower. All have been wildly successful, and I was thinking about how far could this process go for improving my spring planting experience.

Although seed potatoes are probably not a likely candidate for seed tape, peas and beans might be, and so this post is about making seed tape for large seeds.

The issue with large seeds is that they are heavy, and the cornstarch glue isn't all that strong. Simply sticking a bean to some toilet paper isn't likely to work all that well, as my experiments with coriander seed indicated when I found a lot of the seed comes unstuck during the rolling up / unrolling process.

So another tactic was required, and I've devised a way to secure large seeds to toilet paper that actually works well.

The first step involves getting a strip of toilet paper and separating the sheets so that one strip yields two (for 2-ply paper). 

Once you have the paper separated, you then fold each strip lengthwise. 

In the photo to the left, I used 3 strips of toilet paper to create 6 strips, all folded lengthwise down the centre.


The next step involves placing blobs of glue in a line along the each strip. For my peas, I am placing them 2 inches apart, and so the blobs of glue are also 2 inches apart. 

Once I finished putting the blobs of glue onto the paper strips, I then places a pea on top of each blob as shown in the photo to the right.


Once all the peas were placed onto the paper, I then went over them again with my glue bottle, and placed a drop of glue on top of each pea, so that there was glue underneath as well as on top of the seed.

I then folded the toilet paper strips lengthwise along the centre again, so that the seeds were completely covered with paper, and the glue held everything together.


In this image above, you can see the top 3 strips have been folded over as described, while the bottom 3 are patiently waiting their turn.

Once all the tape has been done, then I left them to dry overnight, and you can see the result below.

Each pea is solidly encased in a hard shell of dried cornstarch glue and toilet paper, almost like a little Papier-mâché ball. Having two layers of toilet paper on each side of the seed means that there is no way that it's going anywhere during transport and handling.

This technique works extremely well for seeds of any size, except for maybe coconuts.

Friday, March 27, 2015

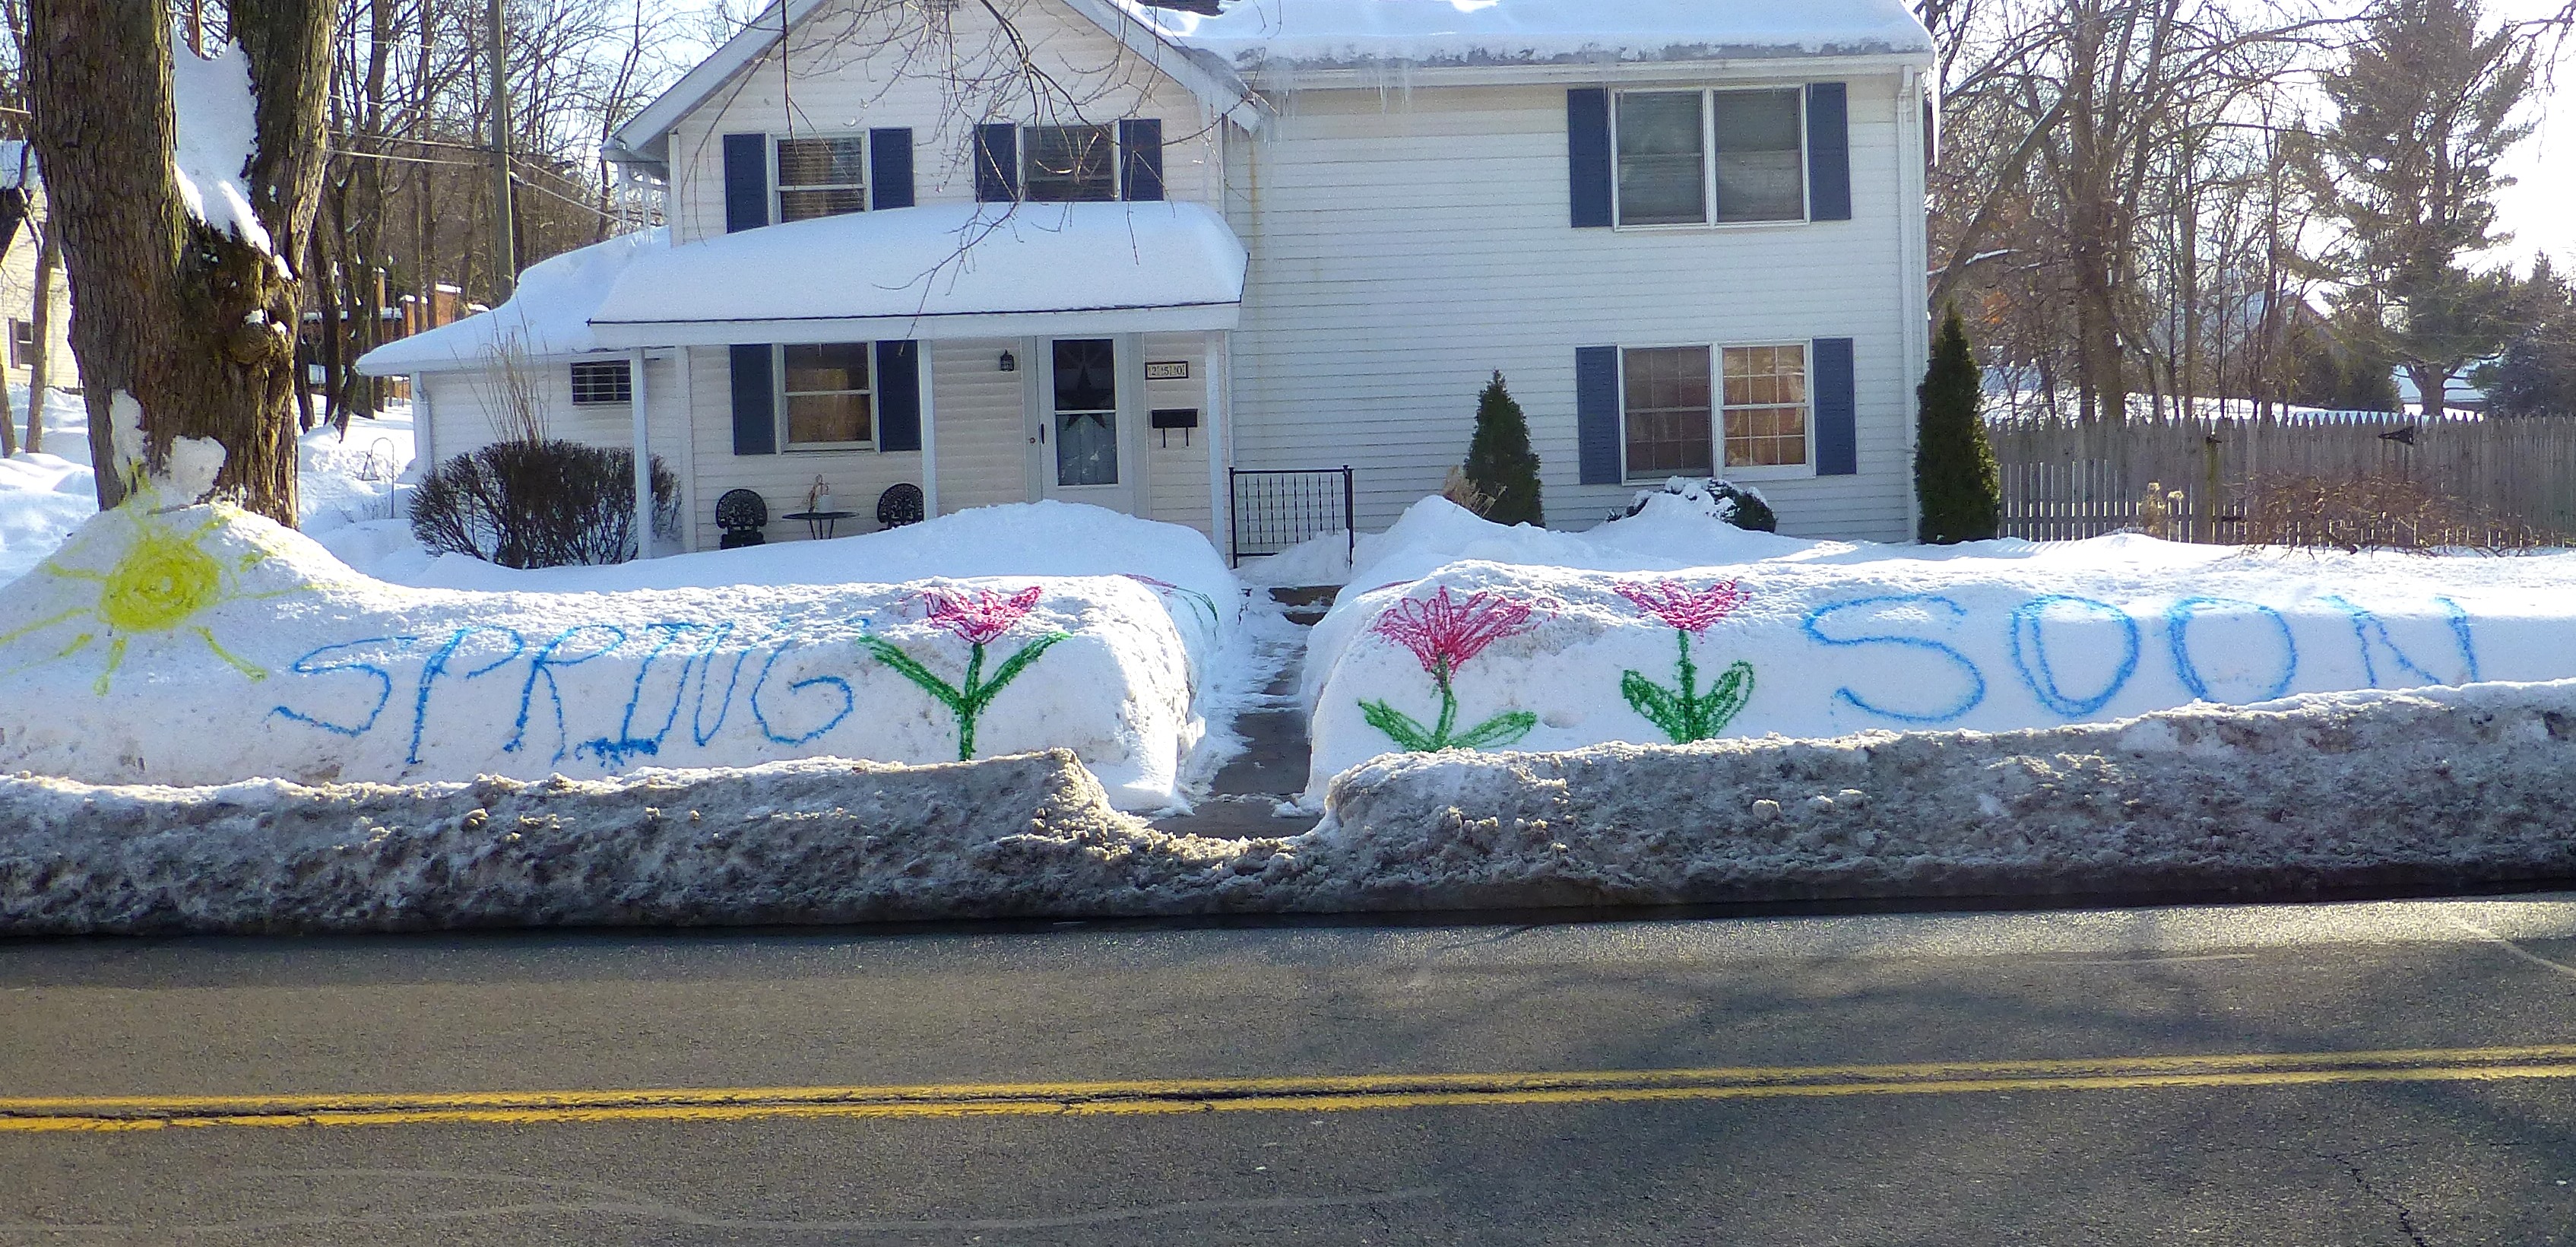
Bring on Spring!

March is not my favourite month in Thunder Bay. 

It's the time of year when everything is still frozen, and yet the snow pack recedes to reveal 6 months worth of accumulated sin.

The air is full of the smells of early spring. In my neighbourhood, that means liquid dog excrement above all others.


But that is not what this post is about. 

March is as important month because things start to happen in the environment. One major event I noticed when I first moved here was that the streets and side walks turn into rivers and streams. This is in stark contrast to the lawns and gardens, which remain under feet of snow pack. So what gives?


I noticed pretty quickly when I moved here that in March, the snow turns from a pristine winter white, to a rather ugly shade of dirt. Over the winter, grit spread on the roads and side walks accumulated in the snow pack, and then magically appeared again as the snow began to melt. I wondered if this darker shade of snow had anything to do with why side walks and boulevards appear to shed their winter coats so much faster than the gardens and lawns.

This year I decided to conduct an experiment on the garden to see if I could accelerate the spring thaw by applying used coffee grounds to the snow pack.

I collected a pile of used coffee grounds from my local coffee shop, and carted them to the garden where I found the beds still under a few feet of snow.

Taking a shovel, I located the garden paths and shovelled the snow off them and onto the garden beds themselves so I would have somewhere to walk as I applied the grounds.

The image below shows the job done and the coffee grounds sprinkled over where I think the garden beds are:


You can clearly see from these photos that there is still a good foot or two of snow on top of these beds. However, the side walks are clear, and grass is beginning to be seen in patches along the road sides.


You can also see from the photo below that some melt has happened at some point and solid ice is sitting in the garden pathways.


I left the garden like this and returned a week and a half later. There had been some warm weather followed by a cold snap and an inch or so of snow the day before I took the following photos.

The photo on the right clearly shows where the garden is. 

Everywhere I had sprinkled the coffee grounds there is no sign of any snow, and indeed, the top few inches of the garden beds have already thawed. 

There was also no sign of the snow that fell the day before.

Just as important to my experiment is that everywhere I did not sprinkle the used coffee grounds there is still a significant snow pack which I would estimate to be approximately a foot deep.


The photo above shows a clear demarcation between treated and untreated areas of the garden. 

So why did I choose to use used coffee grounds? 

Firstly, they are a dark colour, and my theory is that being dark in colour means that they absorb solar energy and transfer their heat back to the surrounding snow pack. The snow, being white, naturally reflects heat and is why the rest of the garden remains under snow.

 Used coffee grounds are also a rich organic source of Nitrogen and minerals. By utilising them in my garden, I am diverting an industrial waste stream that would otherwise go into land fill. 

I'll leave you with a short video on the use of used coffee grounds as a soil amendment and fertiliser:


Tuesday, January 6, 2015

What To Do When It's 40 Below Outside?

What To Do When It's 40 Below Outside?

The advantage of being stuck inside during the cold winter days means that there is ample opportunity to plan for the coming growing season and prepare for planting.

This year I plan to use seed tape in an effort to cut down on the time spent sowing seed and thinning seedlings.


But seed tape is unbelievably expensive, so I thought that a great indoor craft for the whole family would be to make seed tape ourselves.

I looked about and quickly identified toilet paper as a potential ideal candidate for this exercise. All I needed was seeds and glue.

A handy biodegradable glue can be made from simply heating a mixture of corn starch and water. To make things more interesting, we added a bit of food colouring to two batches of glue (one for each child), so we could easily distinguish one seed line from another. 

In this post, we made seed tape for parsnips (using purple glue) spaced at 1/2 inch intervals, along with radishes (using green glue) that we will utilise as a quick crop while the parsnips are growing.

We made the glue quite runny, (1 tsp of corn starch to 250 ml of water) so it would dispense easily from a squeeze bottle in small blobs. Make sure the glue is not lumpy, as the lumps tend to get stuck in the squeeze bottle nozzle, and then release in a flood of glue all over your paper. It makes quite a mess!

Since different seeds need different spacing, I put together a few spacing markers using wheel shaped objects I salvaged from the toy box, and attached rubber bands such that they were separated by the desired distance.  In the picture here, I have a marking wheel with 1/2 inch spacings.

We rolled the spacing marker on an ink pad, and then rolled it down a strip of toilet paper. In under a minute, we had dozens of evenly spaced marks as guides for placing the glue dots.


First off was the radish seed, which one of the kids glued to the toilet paper with green glue by first making a series of dots where the marks indicated and then placing a seed into the dot before it set hard.

Once that was complete, the second child used their purple glue to attach the parsnip seeds in a similar fashion.


Once all the seeds were attached to the paper, they were left to dry overnight.


The toilet paper I used was a two ply variety, and I discovered that once dry, I could still separate the sheets if I was careful. This meant that I could get two strips of seed tape from one strip of toilet paper.


I flipped the paper over, and made a line of glue dots 2 inches apart into which I placed lettuce seeds.

Once these dried, I separated the sheets and rolled them onto old toilet rolls.

So there you have it. Very cheap seed tape, and you have the added benefit of making up whatever combinations you desire.

Come spring, all I need to do is roll out the tape and cover it with a little soil or mulch. 

If the past two seasons have taught me anything, it's that sowing seed in Thunder Bay involves being hunched over in the wind and rain, struggling to get dry seeds out of their packet with wet fingers.


This spring things will be different!

Friday, January 2, 2015

Economics and Permaculture

Economics and Permaculture

Permaculture is as much about developing sustainable and non exploitative economies as it is about sustainable and non exploitative agricultural systems.

If permaculture is going to survive and thrive, it must also make economic sense from a business perspective.

There are two business models I am currently aware of that have been developed for the specific purpose of acting as a template that other people can utilise when going into industrial scale permaculture for profit.

The first model is the "Fiefdom" model developed by Joel Salatin. Joel is a multi-generational farmer who argues that young farmers can't get into the farming business unless old farmers are getting out. Meanwhile, old farmers can't get out unless young ones are getting in.

To address this conundrum, Joel recognised that young farmers want their own independent, yet connected, profitable enterprise (fiefdom) within a farming operation to which they are wholly responsible.

He maintains that a farm is not robust or sustainable unless it is generating at least 2 income streams, and the fiefdom model addresses this by creating many independent businesses within the overall farming operation.

A fiefdom is created when a business agreement in the form of a Memorandum of Understanding (MOU) is signed by the farmer and an independent business owner who wishes to operate within the farm. 

Provided that the business concept fits well within the network of other fiefdoms, and the farm as a whole, then a mutually beneficial agreement is reached and the new operation is introduced to the mini-economy.

On Polyface Farm, there are very few employees, as the people who work there operate their own business on the premises.

Here is a great article describing the fiefdoms on Polyface Farm and a link to Polyface Farm's guiding principles.


The second model is very new (as of April 2014) and is spear headed by Jack Spirko.

The initiative is called PermaEthos, which is a business that has created a template for establishing community based farming operations as profitable enterprises. 

There is a very good pod cast series available where Paul Wheaton (the Duke of Permaculture) interviews Jack on this new undertaking:
Part 1 and Part 2.


Their flagship proof of concept farm is called Elisha’s Spring Farm located in West Virginia and is currently in the early stages of establishment:


The main difference between these two models is that PermsEthos provides a template and a more traditional corporate structure to their organisation. For example, they have an advisory board, shareholders and a board of directors.

The fiefdom model is more of a conceptual design, and Polyface farm is a successful working implementation of this concept.

Whichever system you follow, be it your own, or one of the models described here, the role of debt in your enterprise will play a key part in determining your success.

Modern farmers are typically heavily indebted due to the huge capital outlays required for a modern operation. They indenture themselves, and their future generations to the bank, effectively enslaving themselves to the point of perpetual serfdom.

It doesn't have to be this way. There are alternatives. Social networks within your local community are as powerful as they ever were, and yet we seem to have discarded them and taken on the mantra of being "self made".

Why borrow half a million dollars from the bank to purchase a big fancy combine that you use half a dozen times a year when you could rent one from a neighbour? You pay for it as you need it, and you don't have the headaches of storage, maintenance, and insurance. 


Joel Salatin: Debt Free Farming